
Last Updated on August 30, 2023 by Nurul
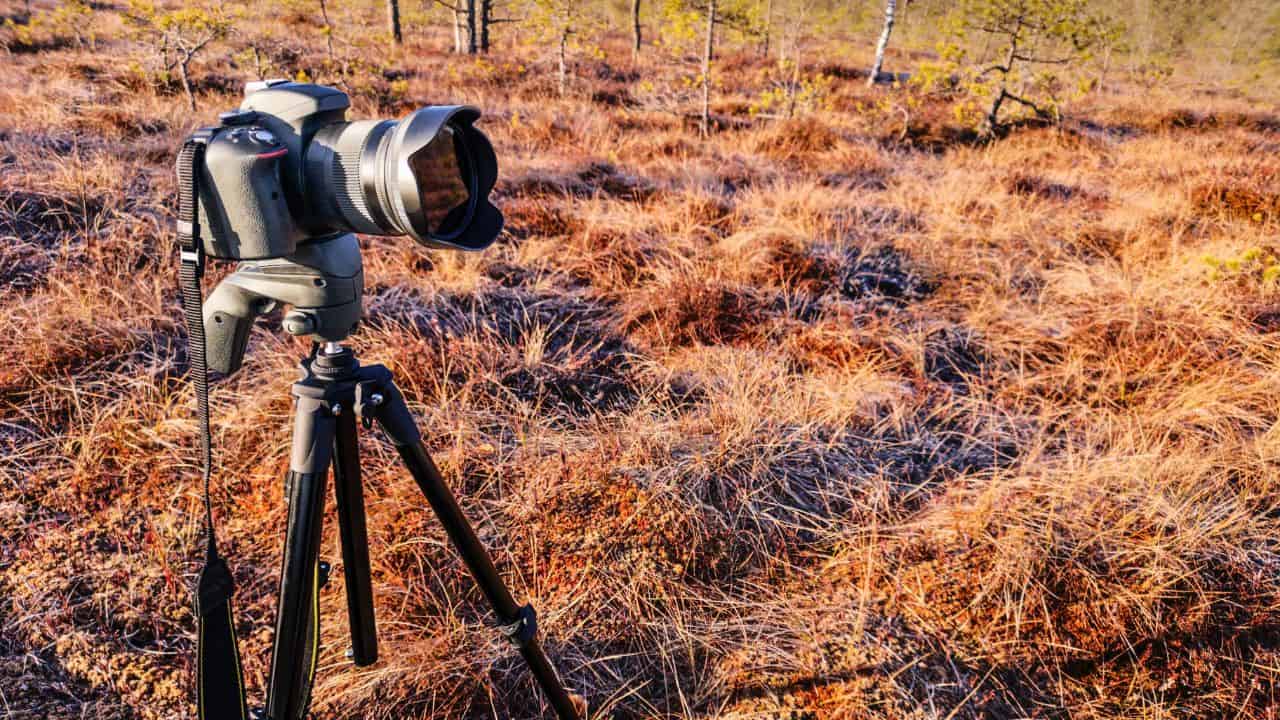
Tripod is always awesome to take a portrait photo. A tripod is capable of taking sharp and perfect shots when you are taking portrait photos. But, how to set up a tripod for a portrait photograph? Setting up the tripod is not a big deal, but you should not go in the wrong way.
According to my experience, you need to collect some important tools like a tripod, lens, and others to take a perfect portrait. It is also essential for you to set up a tripod for portrait photographs which helps you to finish nearly 76% of tasks. So, let’s get started with the article.
Contents
How to Set Up a Tripod for a Portrait Photograph? (Step by Step)
From this section, you will discover a complete how to set up studio portrait photography so that you can hassle-free set up the whole process. So, I would love to recommend you check out the following steps to complete the setup process. Stay tuned and complete the process.
Step 1: Choose the Right Tripod for Portrait Photograph
First and foremost, you need to consider the right tripod for a portrait photograph. It is easy to consider the best tripod for portrait photographs. Don’t I select one of the best tripods for you so that you don’t need to waste your time?
- Torjim 60” Camera Tripod with Carry Bag
- UBeesize 67” Camera Tripod with Travel Bag
- MACTREM BT80 80″ Camera Tripod
- Sirui W-1204 4-Section Waterproof Carbon Fiber Tripod
On the other hand, you need to consider the right head mount so that you can hassle-free set up the whole process. If you are confused about considering a head mount, let me know the following comment box.
Step 2: Choose the Right Lens
Now, it is time to choose the right lens for taking quality portrait photos. You will get a quality lens for taking high-resolution portrait photos on the market. However, if you already have a perfect lens for taking a portrait photo, you can jump the below steps.
Step 3: Select a Battery Power Option for Flash
It would be better for you to put a fresh battery in your camera so that it generates enough power. You may know that batteries play an important role in flushing properly. On the other hand, you can use a rechargeable battery to get the best advantages.
Flash helps you a lot to take the perfect shot for portrait photography. Moreover, you can also use extra lights with your tripod to take a powerful flash system. I hope that you can understand whatever I said to you.
Step 4: Remove Plate from Tripod
To connect your camera or other devices, you need to remove a plate from the tripod top section. You just need to pull the plate, and it automatically removes. It is easy to remove and very smooth to input.
Step 5: Connect Your Camera with Plate
Now, you will discover a nut or screw with a plate, and you need to put the screw on the camera. You will discover a hole in the camera which you need to put. After putting the screw, you should tighten the screw to secure your camera.
Step 6: Connect the Plate with Tripod
Now, your plate is perfectly connected with the tripod. However, it would help if you connected the plate with a tripod. You just need to put the plate on the tripod and use thread to lock properly. I think it is enough for you, and you may hassle-free set up your camera on the tripod for taking portrait photos.
How to Take Vertical Photo with Tripod?
Some tripods provide the customers with a 90-degrees mount to use the tripod vertical. Taking a vertical photo with a tripod, you need to set up your tripod mount head in a vertical position. It is easy to do, and you never need to use extra things.
However, you can follow the above method to use your tripod vertical, but you need to change the setup position. You need to use the thread in vertical areas. You will discover all of the processes in user-manual, or you may also let me know the following comment box.
FAQs (Frequently Ask Questions)
Q: Should I use a tripod for portraits?
Answer: The official answer is yes, you can use a tripod for photography without facing any problems. But, it would help if you kept in mind that you need to set up the tripod with your camera properly. You can check out the above method to set up the whole process.
Q: How tall should a tripod be for portraits?
Answer: It depends on the photographer’s height as well as adjustable height. But, most of the tripods comes with 60-inch tall for taking portrait photo. So, you can also maintain this measurement when you are taking portrait photos.
Q: What settings should I use for portrait photography?
Answer: You need to setting flash, lens, and some other functions for using portrait photography. You can also check out the above method and functions before setting a portrait photography tripod.
Q: Is a 50-inch tripod tall enough?
Answer: Yes, you can use 50 to 63-inches tripod height without facing any problems. According to my experience, a 55-inch tall tripod works much better than others.
Conclusions
How to set up a tripod for a portrait photograph? No doubt, it is one of the most common questions for a photographer. You need to set up your tripod with a proper camera way so that you can hassle-free take a sharp and perfect portrait photo without facing any problems.

Hi, I’m Nurul! I love touching the latest gadget, unboxing them, and even smelling them! In this blog, I will share all my experiences. Hope you get the right idea about all kinds of gadgets from this blog.