
Last Updated on January 3, 2024 by Nurul
To connect speakers to a vintage receiver, first, make sure the receiver and speakers have compatible connections. Then, connect the speaker wires to the corresponding terminals on the receiver, ensuring that the polarity is correct.
Connecting speakers to a vintage receiver requires a few simple steps to ensure proper connection and sound quality. Before starting, ensure that both the receiver and speakers have compatible connections. This can be achieved by checking the receiver’s output terminals and the speaker’s input terminals.
Once verified, connect the speaker wires to their corresponding terminals on the receiver, ensuring that the positive and negative terminals are correctly matched. Proper polarity is crucial for optimal sound reproduction. By following these steps, you can easily connect speakers to a vintage receiver and enjoy your audio experience.
Contents
Understanding Vintage Receiver Connectivity
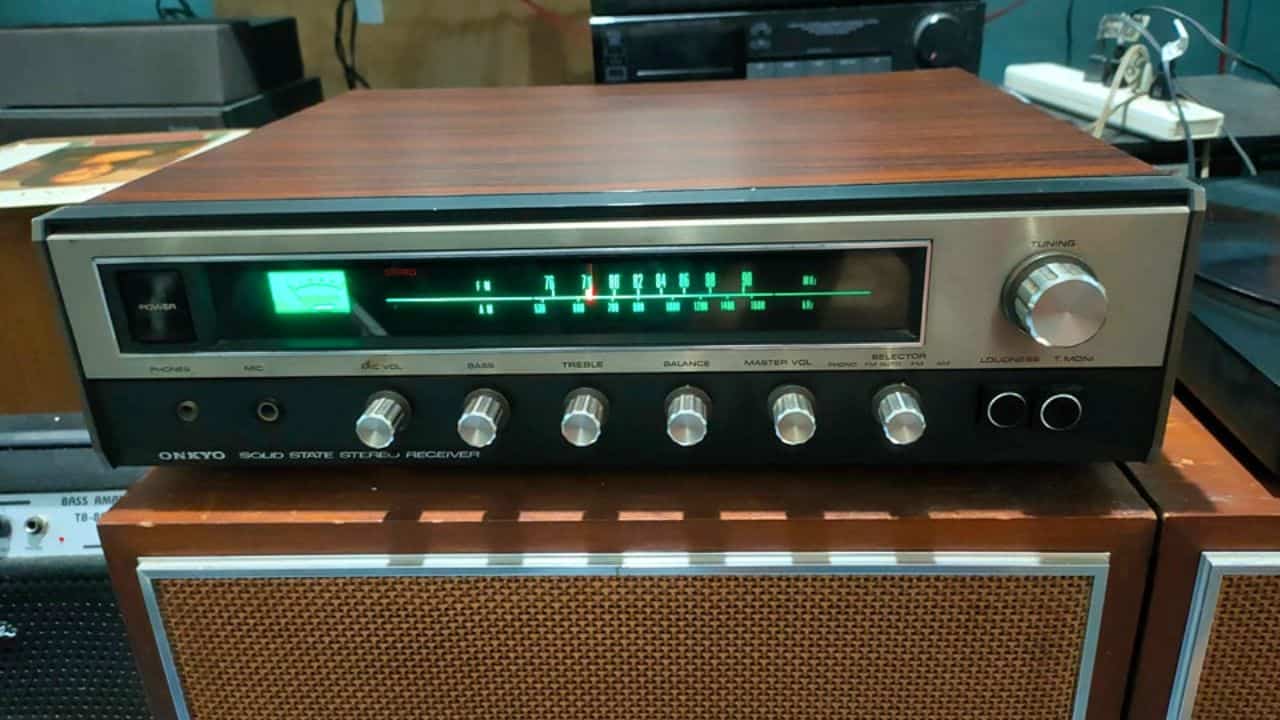
Connecting speakers to a vintage receiver requires an understanding of its connectivity options. Vintage receivers may have different input and output ports, so it’s essential to identify them correctly. Some common receiver input ports include RCA, AUX, and tape input, while output ports are usually labeled speaker output or speaker terminals.
To connect your speakers, you’ll need speaker wire with suitable connectors. The two most common types of speaker wire connectors are banana plugs and spade connectors. Banana plugs are easy to use and provide a secure connection, while spade connectors offer a more permanent and robust connection.
Impedance matching is crucial when connecting speakers to a vintage receiver. Matching the speaker’s impedance to the receiver’s output impedance ensures optimum sound quality and prevents any damage to the receiver. It’s important to check the impedance ratings of both the speakers and the receiver to ensure compatibility.
Preparing Your Setup
To connect speakers to a vintage receiver, there are a few steps you need to follow. First, you need to prepare your setup. One important aspect is selecting appropriate speaker wires for optimal audio transmission.
The right gauge and length of wire will ensure sufficient power handling and minimal signal loss. Another essential step is acquiring the necessary tools for speaker wire preparation, such as wire cutters, strippers, and crimpers.
These tools will help you properly strip and cut the speaker wires for secure connections. Remember to carefully match the polarity of the speaker wires to the receiver terminals, typically denoted by color coding or markings. Finally, ensure that all connections are secure and insulated to prevent any electrical faults.
Connecting Speakers To Receiver
When setting up a vintage receiver, it’s essential to properly connect your speakers for optimal audio performance. Here’s a step-by-step guide to help you:
1. Speaker Wire Connection:
| Speaker Terminal: | Speaker Wire: |
| Red Terminal (+) | Red Wire (+) |
| Black Terminal (-) | Black Wire (-) |
2. Configuring the Receiver:
Once the speakers are connected, navigate to your vintage receiver’s settings menu to ensure proper configuration. Adjust settings like speaker impedance and output level as instructed in the receiver’s manual.
3. Tips for a Secure Connection:
- Double-check the wiring to confirm a tight and proper connection
- Use quality speaker wire to minimize signal loss and interference
- Ensure correct polarity by aligning the positive and negative terminals on both speaker and receiver
- Securely fasten the wire to the speaker terminals to avoid any loose connections
- Keep wires away from other electronic devices to prevent interference
By following these steps and tips, you can successfully connect speakers to your vintage receiver and enjoy high-quality audio.
Troubleshooting Common Issues
If you are facing issues with connecting speakers to your vintage receiver, troubleshooting common problems can help resolve them. The first common issue is no sound or poor sound quality.
To address this problem, ensure that the speakers are properly connected to the receiver and that the volume is turned up. Check the speaker wires for any damage or loose connections.
If the wires are in good condition, check the wire polarity. Make sure that the positive and negative terminals on both the speakers and the receiver are aligned correctly. Connecting them incorrectly can result in poor sound quality.
Another common issue is receiver overheating. To prevent this, make sure that your receiver has proper ventilation. Keep it in a well-ventilated area and ensure that it is not covered or obstructed by any objects.
You can also use a fan or an external cooling system to provide additional airflow. Regularly dusting the receiver and keeping it clean can also help prevent overheating issues.
Maintaining Your System
Regular cleaning and dusting are essential for maintaining your vintage receiver and ensuring optimal performance. Dust and dirt can accumulate on the exterior and interior components, affecting the sound quality and overall functionality.
To clean the receiver, use a soft cloth or brush to gently remove any dust or debris. Make sure to avoid using harsh chemicals or abrasive materials that can damage the finish.
In addition to cleaning, it is important to regularly check and tighten the connections of your speakers to the vintage receiver. Over time, connections may become loose or corroded, resulting in poor sound quality or intermittent signal.
Inspect the speaker wire connections, ensuring they are securely plugged into the corresponding terminals of the receiver. Tighten any loose connections gently with your hand or a screwdriver, being careful not to overtighten and cause damage.
If your vintage receiver supports firmware updates, it is recommended to regularly check for and install any available updates. Updating the firmware can provide bug fixes, performance improvements, and additional features, enhancing your overall audio experience. Consult the manufacturer’s website or user manual for instructions on how to update the receiver’s firmware.
Frequently Asked Questions Of How To Connect Speakers To Vintage Receiver?
How Do I Connect Speaker Wire To An Old Receiver?
To connect speaker wire to an old receiver, simply strip the insulation from the wire ends, then insert them into the corresponding speaker terminals on the receiver. Positive to positive and negative to negative. Tighten the terminals and ensure a secure connection.
How Do I Connect External Speakers To My Receiver?
To connect external speakers to your receiver, follow these steps:
1. Identify the speaker outputs on your receiver.
2. Connect the speaker wires to the corresponding terminals on the receiver.
3. Ensure that the positive and negative terminals match.
4. Connect the other end of the speaker wires to the speakers.
5. Make sure all connections are secure and enjoy your enhanced audio experience.
Can You Hook Up Any Speakers To Any Receiver?
Yes, you can connect any speakers to any receiver. However, it is important to consider the compatibility and power requirements of both the speakers and the receiver for optimal performance.
Conclusion
Connecting speakers to a vintage receiver may seem daunting, but with a little guidance, it can be a breeze. By following the steps outlined in this blog post, you can ensure a seamless audio experience that brings your vintage system back to life.
Remember to use the right speaker cables and connectors, match the impedance, and double-check your wiring. With these tips, you’ll be ready to enjoy the rich sound of your vintage receiver and speakers in no time. Happy listening!

Hi, I’m Nurul! I love touching the latest gadget, unboxing them, and even smelling them! In this blog, I will share all my experiences. Hope you get the right idea about all kinds of gadgets from this blog.