
Last Updated on September 21, 2023 by Nurul
In the world of photography, there’s an essential tool that often goes unnoticed but plays a crucial role in capturing stunning, crystal-clear images – the tripod. Whether you’re a seasoned photographer or just starting your photographic journey, understanding how to set up your camera on a tripod is a fundamental skill that can elevate your photography to new heights.
In this comprehensive guide, we will take you through every step of the process, from selecting the right tripod to fine-tuning your camera settings for tripod use. By the end of this article, you’ll be well-equipped to harness the power of your tripod and capture breathtaking photos.
Contents
Choosing the Right Tripod
Before we delve into setting up your camera, let’s start with the foundation – selecting the right tripod. Choosing the perfect tripod is crucial because it affects your camera’s stability and your overall photography experience.
Tripod Types There are various types of tripods available on the market, each designed for specific needs. These include tabletop tripods for compact cameras, travel tripods for portability, and full-size tripods for professional use. Consider your camera’s weight and the type of photography you intend to do when making your selection.
Stability and Durability When shopping for a tripod, assess its stability and durability. Ensure that all locks and joints are secure. A sturdy tripod will prevent accidents and provide reliable support for your camera.
Assembling Your Tripod
Now that you’ve chosen the perfect tripod for your needs, it’s time to set it up. Properly assembling your tripod is essential for ensuring it functions correctly.
Step-by-Step Setup Follow the manufacturer’s instructions to unfold and set up your tripod. Pay close attention to each step to avoid mistakes.
Securing Locks and Joints Make sure all locks and joints are tightened securely. Loose connections can lead to instability, which can ruin your shots and even damage your camera.
Unique Features Every tripod model may have unique features or adjustments. Familiarize yourself with your tripod’s specifics to maximize its capabilities.
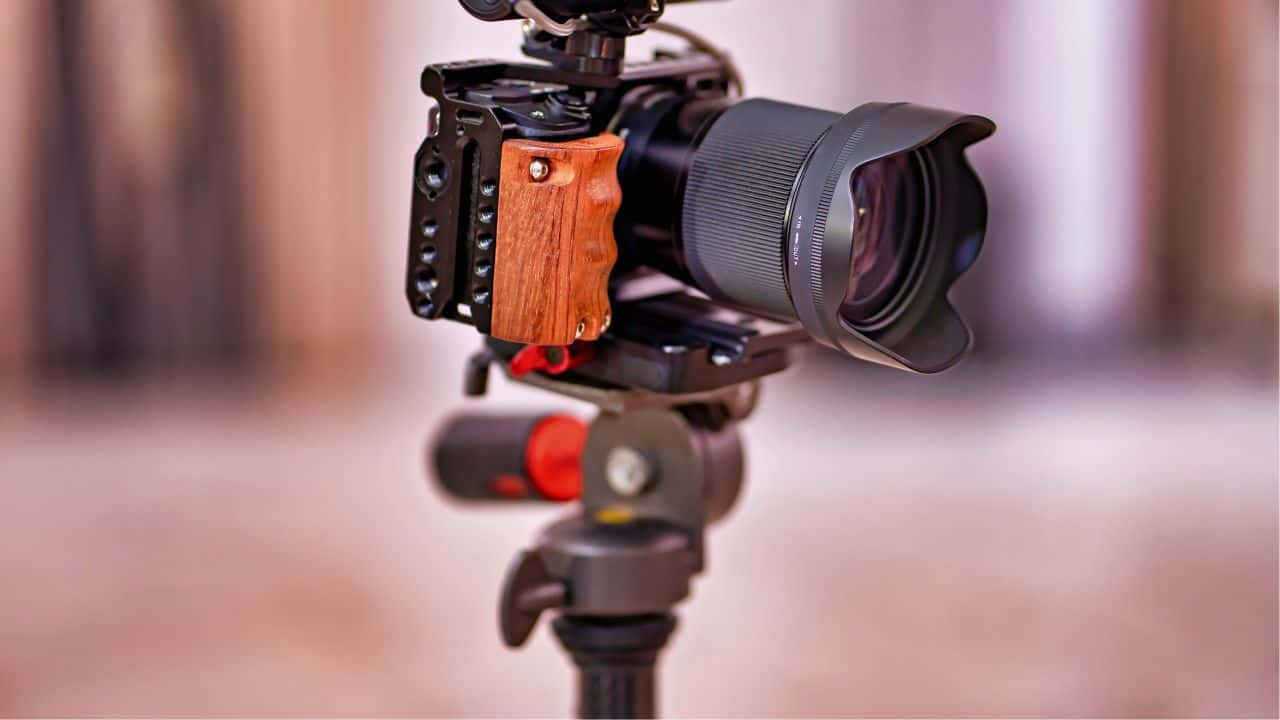
Mounting Your Camera
With your tripod ready, it’s time to mount your camera securely. The way you attach your camera to the tripod can significantly impact the stability of your setup.
Camera Mounts There are different types of camera mounts, such as quick-release plates and screw mounts. Ensure your camera is compatible with your tripod’s mount.
Attaching Your Camera Follow these steps for a secure attachment:
- Align the camera with the mount.
- Carefully screw or clip your camera onto the mount.
- Double-check for a snug fit to prevent any accidental falls.
Adjusting the Tripod Height
Now that your camera is mounted, you’ll want to adjust the tripod’s height to achieve the perfect shooting angle.
Importance of Height Adjustment Different photography scenarios require varying shooting angles. Adjusting the tripod’s height allows you to adapt to these situations.
Extending and Retracting Legs Extend or retract the tripod legs to achieve the desired height. Ensure that each leg is at the same length to maintain stability.
Using Center Columns Some tripods come with center columns that allow additional height adjustment. Utilize this feature when needed, but be mindful of stability.
Leveling Your Camera
For professional photography, having a level camera is crucial. Even a slight tilt can affect the quality of your shots.
Importance of Leveling Leveling ensures that your horizon remains straight and that your compositions are symmetrical and balanced.
Using Bubble Levels Most tripods come with built-in bubble levels to help you achieve a level camera. Check your tripod for this feature and use it accordingly.
Troubleshooting Tilt If your camera isn’t level, troubleshoot by adjusting the tripod legs and mount until you achieve the desired level position.
Stabilizing the Camera
Camera stability is paramount in photography. Even the slightest vibration can lead to blurry images. Here’s how to ensure a stable setup.
Importance of Stability Stability minimizes vibrations caused by touch or environmental factors, resulting in sharper images.
Tripod Leg Braces and Weight Hooks Some tripods have leg braces and weight hooks for added stability. Utilize these features, especially in windy conditions.
Minimizing Vibrations To further reduce vibrations:
- Use a remote shutter release or self-timer to trigger the camera without touching it.
- Avoid sudden movements or disturbances near your tripod setup.
Camera Settings for Tripod Use
Setting up your camera correctly when using a tripod is vital for achieving the best results in different shooting scenarios.
Ideal Camera Settings Consider the following camera settings:
- Lower ISO settings for minimal noise.
- Smaller apertures (higher f-stop numbers) for increased depth of field.
- Slower shutter speeds for long exposures.
Using Remote Shutter Releases A remote shutter release or self-timer prevents camera shake when you press the shutter button.
Fine-Tuning Your Composition
With your camera firmly mounted and your settings dialed in, it’s time to focus on composition.
Precise Framing and Composition A tripod allows for precise framing and composition, enhancing the overall quality of your photos.
Adjusting Camera Angle Experiment with different camera angles to find the best perspective for your subject.
Creative Composition Opportunities A tripod opens up creative opportunities like long exposures, panoramic shots, and HDR photography. Don’t hesitate to explore these techniques.
Review and Maintenance
As you wrap up your photography session, it’s essential to review your tripod setup and perform necessary maintenance for long-term durability.
Regular Inspection Periodically inspect your tripod for any loose joints, damaged parts, or signs of wear and tear.
Cleaning and Lubrication Clean your tripod to remove dirt and debris, and lubricate moving parts to ensure smooth operation.
Storage Store your tripod properly to prevent damage. Consider a carrying case or bag to protect it during transportation.
Frequently Asked Questions
Q1: Can you explain how to attach a camera to a tripod securely?
A1: Certainly! To attach a camera to a tripod securely, first, ensure your camera has a tripod socket. Then, align the camera’s mounting hole with the tripod’s quick-release plate, insert the plate into the camera’s socket, and tighten the screw to secure it in place.
Q2: Are all tripods compatible with all camera types?
A2: No, not all tripods are universal. Tripods come with different types of mounting plates, so it’s crucial to check compatibility. Most tripods use a standard 1/4″-20 screw, but larger cameras might require a bigger plate.
Q3: How do I adjust the height of a tripod for my camera setup?
A3: Adjusting the height of a tripod is simple. Loosen the leg locks or extend the center column to your desired height. Then, tighten the locks to secure it. Make sure the tripod is level to avoid shaky shots.
Q4: Is it essential to use a tripod for long-exposure photography?
A4: Yes, using a tripod for long-exposure photography is crucial. It eliminates camera shake, ensuring sharp, clear images, especially in low light conditions or when using slow shutter speeds.
Q5: What is the purpose of a tripod’s ball head?
A5: A tripod’s ball head allows for flexible camera positioning. You can smoothly adjust the camera’s angle and composition by loosening the ball head and repositioning it, then tightening it when you’re satisfied.
Q6: How can I prevent my camera from slipping on the tripod head?
A6: To prevent your camera from slipping, make sure the quick-release plate is securely attached. Additionally, some tripods have a friction control knob on the ball head; tightening it slightly can help prevent slippage.
Q7: Are there any tips for stabilizing a camera on a windy day with a tripod?
A7: Absolutely! Extend the tripod’s legs fully for added stability, and consider hanging a weight or your camera bag from the center column hook to reduce vibrations caused by wind.
Q8: Can I use a smartphone with a tripod designed for DSLR cameras?
A8: Yes, you can use a smartphone with a DSLR camera tripod by using a smartphone mount adapter. Most tripods are versatile and can accommodate different devices with the right accessories.
Q9: Is there a proper way to store a camera on a tripod to prevent damage?
A9: When not in use, it’s a good practice to collapse the tripod’s legs and store it in a protective carrying case. This helps protect both the tripod and the camera from potential damage.
Q10: How do I level a camera on a tripod for landscape photography?
A10: To level your camera for landscape photography, use a bubble level or the tripod’s built-in level indicator. Adjust the tripod’s legs or center column until the bubble is centered, ensuring a perfectly horizontal shot.
Conclusion
Congratulations! You’ve now mastered the art of setting up your camera on a tripod. With the right tripod, proper assembly, precise camera mounting, height adjustments, leveling, stability, and camera settings, you’re well on your way to capturing stunning, professional-quality photographs.
As you continue to practice and experiment with your tripod, you’ll unlock new creative possibilities and elevate your photography to new heights. Stay curious, keep exploring, and watch your photography skills flourish. Tripods are not just tools; they are your steadfast companions on your photographic journey.

Hi, I’m Nurul! I love touching the latest gadget, unboxing them, and even smelling them! In this blog, I will share all my experiences. Hope you get the right idea about all kinds of gadgets from this blog.